Table of Contents
- Step 1: Enable Automatic Enrollment in Intune
- Step 2: Make sure users are allowed to join devices to Microsoft Entra
- Step 3: Create an Autopilot device group
- Step 4: Create an ESP
- Step 5: Create the Autopilot profile
This guide will teach you how to setup Windows autopilot in Intune. To begin open the following Admin portals:
Step 1: Enable Automatic Enrollment in Intune
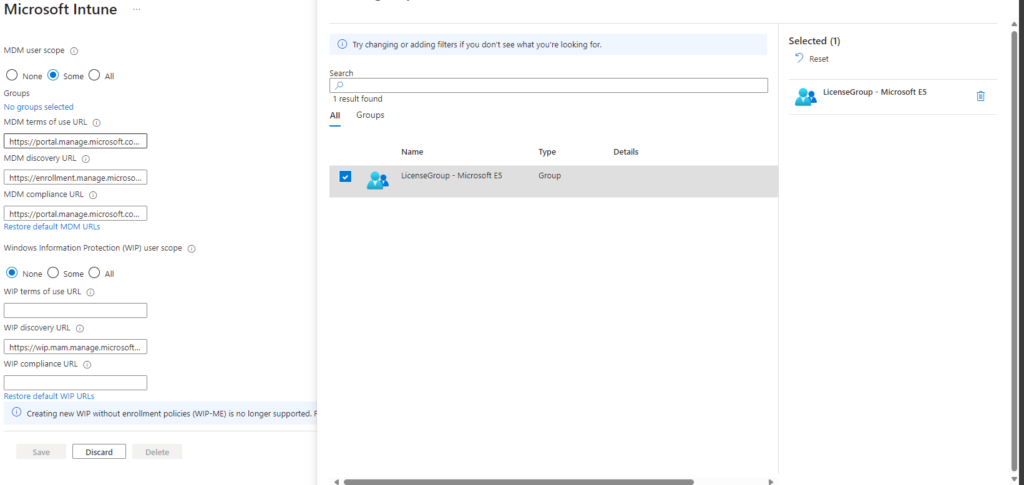
- In Intune navigate to ‘Devices > Device onboarding > Enrollment > Automatic Enrollment’.
- Select ‘Some’ if you want to allow a group of users to enroll devices into Intune or ‘All’ to allow all users to enroll devices into Intune.
- Click ‘Save’.

Step 2: Make sure users are allowed to join devices to Microsoft Entra
- Open Microsoft Entra and navigate to ‘Devices > Device settings’.
- Set ‘Users may join devices to Microsoft Entra’ to ‘All’ or a selected group or groups.

Step 3: Create an Autopilot device group
- Open Microsoft Entra and navigate to ‘Groups > All groups’
- Create a new dynamic device group.
- Create the group with the following rule syntax: (device.devicePhysicalIds -any (_ -contains “[ZTDId]”)) -and (device.devicePhysicalIds -any (_ -contains “[OrderID]:GROUPTAG”))
- Change the GROUPTAG to a tag you want to use for your AutoPilot profile. In my case i named it: ‘Windows_Laptops’.
- Save the new group.

Step 4: Create an ESP
- Open Intune and navigate to ‘Devices > Device onboarding > Enrollment > Enrollment Status Page’.
- Click ‘Create’ and give it a name.
- Select ‘Yes’ at ‘Show app and profile configuration progress’.
- Check the ESP options and change them to your organization requirements.
- Select ‘Next’ and proceed to the Assignments.
- Select the group you created in step 3 and create the ESP.

Step 5: Create the Autopilot profile
- Open Intune and navigate to ‘Devices > Device onboarding > Enrollment > Deployment profiles’.
- Click ‘Create profile’ and select ‘Windows PC’.
- Give the profile a name and description and select ‘Next’.
- Change the settings to your organization needs and select ‘Next’.
- Assign the profile to the group you created in step 3 and click ‘Create’.

Check out part 2 to see how you can register and enroll devices!

Leave a Reply